Sunday, June 19, 2011

Dead Motion Detection Lighting: SUCCESS!!


--adventure by Tones--


The kids were napping upstairs, so I figured I could knock an easy item off the honey-do list while things were quiet on the home front.  One of the outside lights on the 3-season porch hasn't worked since we moved in, so I figured I'd take a peek. This one shouldn't be too hard, right?

First thing's first: try a different bulb.  Ha!  If only life were that easy.


No go on the new bulb.  Still dead.
The next step is to see if I'm getting voltage to the fixture.  This is easy enough, as I have a handy-dandy voltmeter and I sorta know how to use it.  Let's take the fixture off its mount so I can access the wiring.  This is as easy as removing a couple thumb-screws... you know, AFTER I turn off the power at the switch! 


There... let's pull out the wires and start measuring.


HOLY CRAP!!!  WASN'T EXPECTING THAT!!

YIKES!!  There's a wasp building a nest in the light fixture.  Gotta take care of that before I stick my fingers in there!  Luckily, the garaged is well stocked and I'm well armed.


While I'm at it, I hit a couple more locations around the house.

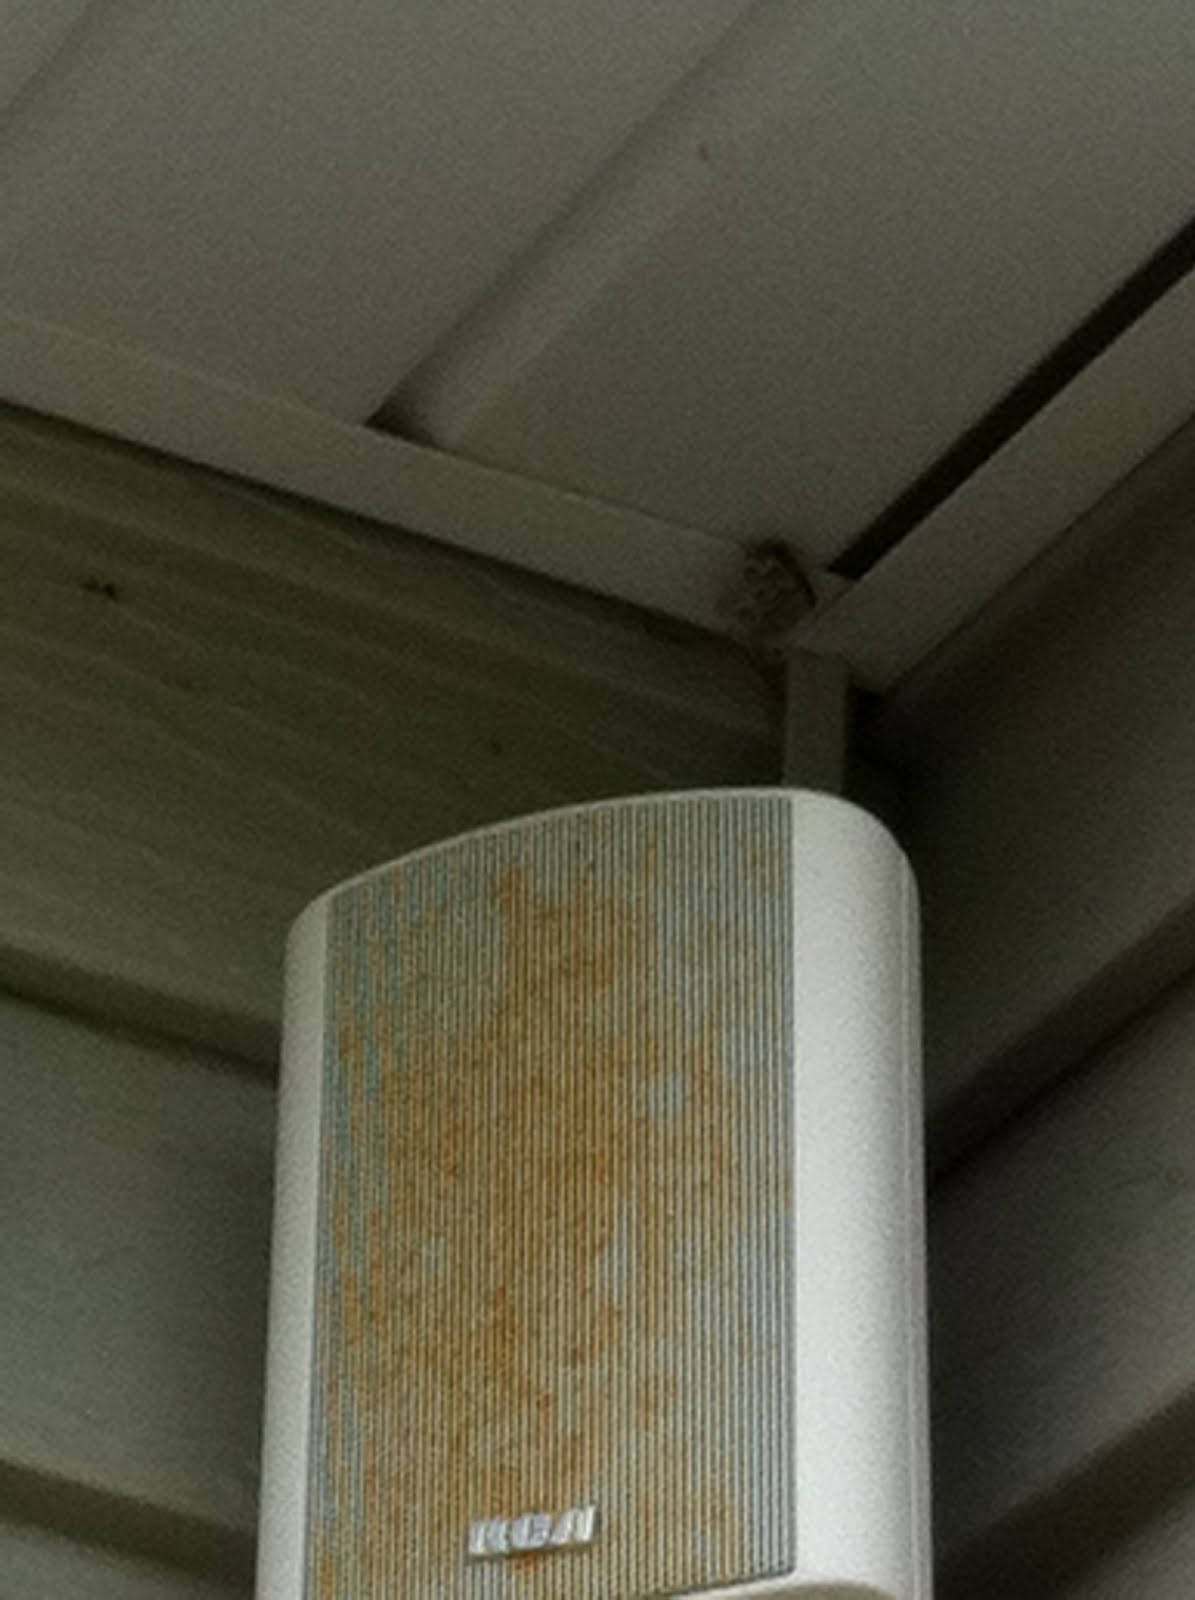
There's a bugger above the speaker...

...and one wayyyy up here on the garage.

Good use for this ladder... $65 at Menards.

Three wasp nests?  SUCCESS!  SUCCESS!!  SUCCESS!!!   DIE! DIE!!  DIE!!!

Now that we've killed all wasps within sight, it's time to get back to the task at hand: measuring voltage at the light fixture.  This is as easy as (with the power OFF) pulling the wiring out of the fixture and hooking up the voltmeter leads.  After I turn the power back on, I should be getting 120 volts, right?

Exposed wiring should read 120v when energized.
I'm getting 120 volts, so this means that the fixture itself is shot.  This is actually good news, because installing a new fixture is easier than troubleshooting the wiring going into my porch!  As luck would have it, I happened to have a light fixture that I never got around to installing at my old house (didn't have this blog back then).  I'll install that fixture and maybe give the broken one to our pal at josh kadlac's blog to pull apart.

So, to make things even more interesting, the kids are up and eager to play outside.  I have exposed wiring dangling above three puddles of wasp poison!  No way can I let the kids out into that danger zone!  I'm trying to concentrate at the task at hand, but the girls are now pounding on the windows and I've got to do something... so I pull out a patented move:


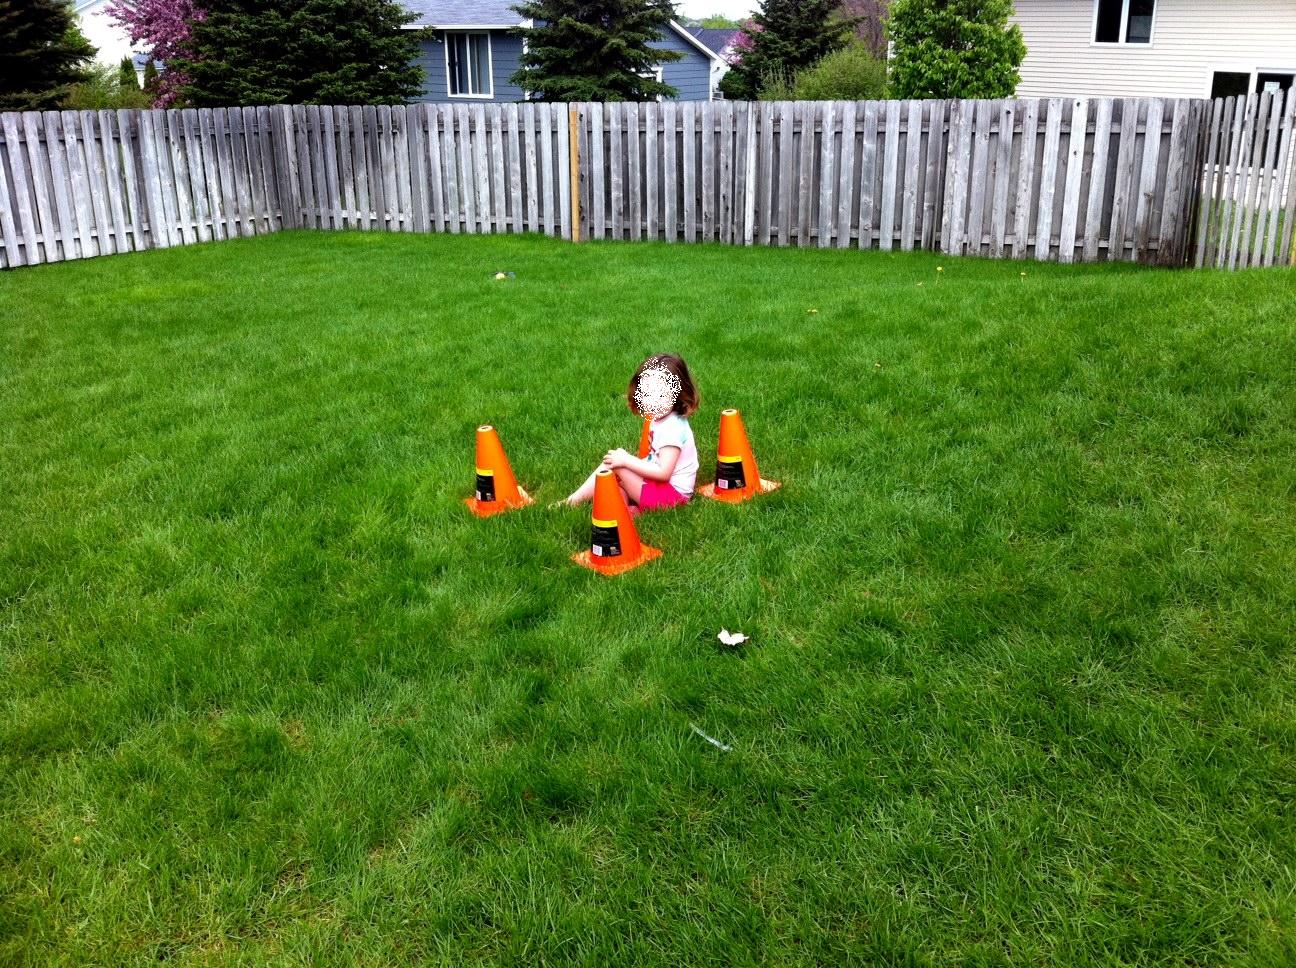
This also works great for outside time-outs when the kiddos need one.
I bought some cones to practice soccer and to play kick ball with the girls.  Now they're doing a great job keeping them away from the dangerous voltage and poison throughout the yard.  Safety: SUCCESS!!!

With the kiddos quarantined, I have time to throw the other light fixture up.  The wiring is as simple as white wire to white wire and black wire to black wire.  Of course, I did this with the POWER OFF!!


Twist the wire nuts: black 2 black, white 2 white.
Next step is to mount the lamp and flip the switch...

SUCCESS!!!!


Last step is to remove the quarantine and play with the kiddos!  Good Dad: SUCCESS!!

Monday, May 30, 2011

Sagging bottom panel on 2004 Toyota Camry: SUCCESS!!

--adventure by Tones--

For years, my wife has been complaining that something has been hanging low on her Camry's underbelly causing a scraping sound every time she drives up and down our driveway.  I've put this off for other projects over the years, but I finally had some blog-inspired motivation (and a new garage) to tinker around and see what's up.


My maw has a jack at her house that is coming my way now that I have a new garage, but I'll have to make due with these ramps in the meantime.  They always make me nervous driving up them, but a man's gotta do what a man's gotta do, right?

Car on ramps: SUCCESS!  Now it's time to take a peek and see what's going on underneath the car.  I've been holding on to my Dad's old Jeeper's Creeper for a decade, waiting for a cool garage in which to scoot around.  Finally, I get a chance to scoot under the car in old-school style.
The Jeeper's Creeper.  Sweet.
I took the creeper for a test scoot, but I was a bit disappointed in the performance.  It rode kind of like that one cart you get at the grocery store that pulls to the left.  I put the Camry project on hold for a while to investigate.

Turns out that my dad must have run over some shag carpeting back in the day.  I attacked this wound-up string with a needle nose and removed it with relative ease.  After a quick shot of WD-40, and the Jeeper's Creeper rode like a dream!  SUCCESS!!

Whew!  It's getting to be about noon at this point so I reckon it's time for a quick Coffee Break. 

Starbucks French Roast.
Okay, where was I?  Oh yeah, the Camry.  I scooted under the car with my sweet new ride and found that the plastic panels were sagging as they dropped two of those plastic pushy-things (grommets?). 
Metal housing above, plastic cover below.  They need to meet.

One of the two sagging panels.


One of the grommets still intact.


I need a grommet here...


...and here.
Knowing that I would never find a grommet in the garage, I found myself looking for an alternative.  Maybe I'd find a self-tapping screw or something, who knows.  Duct Tape is a no-go: no style points there.  ZipTies, on the other hand, are not only acceptable, they are encouraged.  If I could fish the ZipTies through the grommet holes in the metal beam, I could be in business!

BINGO!
The first panel was an easy fix as the grommet hole was drilled out in an open-ended metal housing. Threading the ZipTie was simple and I was halfway to SUCCESS.


zzzzzip!

Unfortunately, the second grommet hole was a bugger.  It was drilled out of an enclosed metal beam, so making the necessary "loop" for the ZipTie would be tricky indeed.   Noticing another hole drilled out of the beam a few inches away, I found a possible "loop," but how would I finagle the ZipTie in and out of the beam?

I'm pointing to the Grommet hole.  Note the secondary hole an inch or so downward.  How do I get a ZipTie threaded in that?

Fortunately, I have years of ZipTie experience and I'm quite adept at pulling off the impossible with these things. With a trademark move called, "The Selby Hook," I bent the very tip of the ZipTie and made a secondary bend a few millimeters upstream.  This made this potential boondoggle almost laughable.  Man, I'm good with these ZipTies.

The "Selby Hook."  (Pat. Pend.)
Amazing, aren't I?
With the ZipTie threaded, all that was left was pulling things tight and snipping off the ends.

zzzzzip!

SUCCESS!
With everything holding tight, I took my wife's car for a test drive up and down the driveway a few times.  I didn't hear any scraping sounds, so I'm calling this a SUCCESS!!!  I also found a half-bag of peanut M&M's in the car... BONUS POINTS!

Payment for my labor.


Sunday, May 29, 2011

Broken gate latch: SUCCESS!!


This is the gate into my back yard.  I love this gate, or at least the idea of this gate.  The gate itself kinda sucks.  It doesn’t really fit into the frame and the latch is super crappy.
This is the latch:


note extra screw.


When we moved here (last year) I bought a new latch.  Clearly that’s as far as that project ever went.  Now that I have a blog, I finally have a reason to fix things.
First, I opened the package to make sure that the latch I bought matches the one I am removing.  It was not the exact same, but it was pretty close.  Close enough for my style of fixin’!

Next I removed the old latch using my trusty leatherman.  Clearly, there have been a number of latches installed here before this one.


Now I need to install the handle that faces the outside.  The instructions say that I should use a lag screw on top, but they give me a regular nut and bolt for the bottom, stating that the bolt should go through the gate and the nut should screw on from the inside of the gate .  This won’t work for my gate, as there are too many layers of wood and the bolt they gave me isn’t long enough.  This seems silly to me.
I decide to install the top and deal with the bottom later.  In order to install the lag screw on top, I need a ½” socket wrench, so I turn to my tool box.  I notice that I have all of the pieces to my socket set, as I am a firm believer in ALWAYS returning tools to their place!
Once that is finished, I moved on to the other side of the door.  For this step I need my drill.
I discover that the battery is cashed from whenever I last used it, so I plug in the battery and take a break, fixing stuff is exhausting!

Once my battery is reacharged I attach the inside part of the latch.  There isn’t much to this, since it just lines up with the lever from the front.
Next, I measure where the latch attaches to the wall and notice that I will need to drill new holes for the screws.


After a few minutes of drilling, I realize that I am not going anywhere, and my drill bit is covered with metal shavings.

I decided to buy a special drill bit, one made for drilling into masonry.  But first, I make dinner for my family.


After drilling the holes, I insert a couple of plastic anchors and attach the rest of the latch.


The last step is to deal with the bottom of the front handle, remember the nut and bolt?  When I was at the hardware store, I picked up a package of lag screws.

Success!!
-G